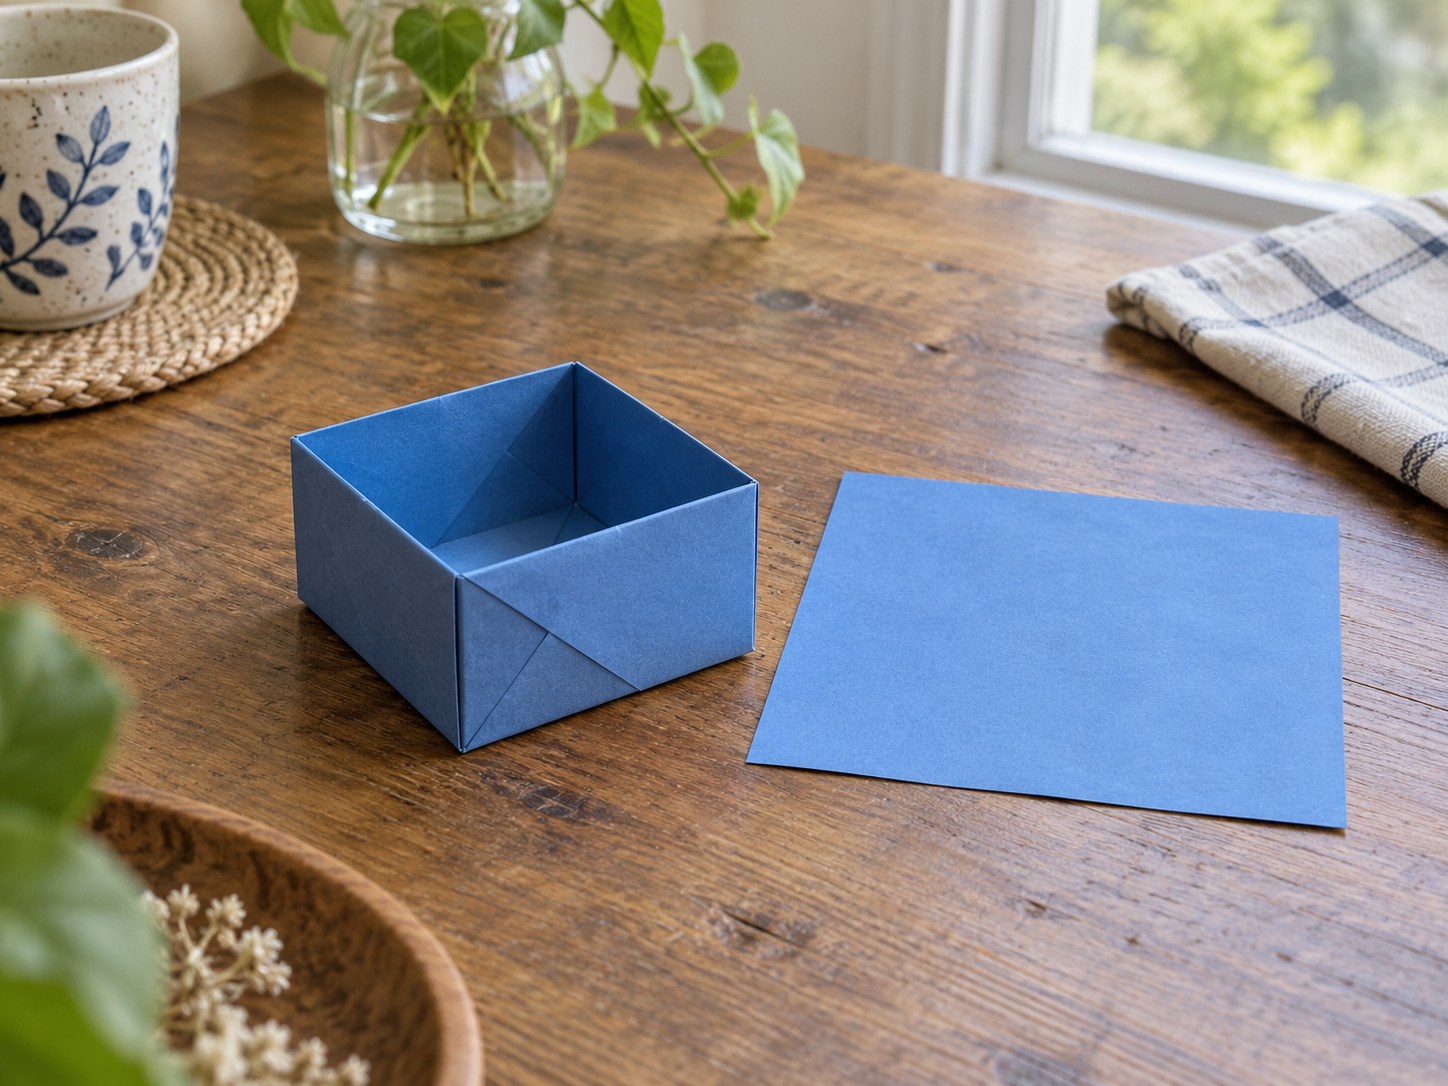
Begin with a true square
Take a square sheet flexible enough to fold but not excessively thin. A larger square makes the movements easier to see than tiny decorative paper. Check that sides are equal and corners are square; an inaccurate beginning affects the final shape. Origami paper works, but neatly cut ordinary paper can be enough.
This box is intended for small, dry, lightweight objects. Paper is neither a food container nor waterproof storage. Use a trial sheet first and save valued paper for the second attempt. Work on a flat surface with enough room to open the square completely. Keep a blunt folding tool nearby only if it helps you make the creases without damaging the paper.
Establish the guides
Fold the square in half horizontally, crease and open it. Repeat vertically. The crossing lines identify the centre. Bring each of the four corners to that point, aligning edges carefully. You now have a smaller square made from four triangles.
Fold two opposite edges of this smaller square towards its centre line, crease and reopen. Turn the paper a quarter-turn and repeat with the other edges. These creases will form the walls. Work gently: pressing harder does not correct a misaligned edge. Position the fold accurately before strengthening it, and check both sides rather than judging only one corner.
Identify the folds that form the corners
After marking the wall folds, briefly open the paper and inspect the network of lines. You should be able to find the centre, the base boundaries and diagonals coming from the former corners. These are not all new creases to make. A photograph of the flattened trial sheet can help you recognise the route when raised sides conceal some of the lines. Keep the same orientation while comparing the photograph and paper.
If one side becomes taller than another, return to the stage where edges were folded towards the centre. A small offset there accumulates during assembly. Correct it now instead of crushing a corner to make it appear square. If the trial is already heavily marked, retain it as a learning model and begin again later with an accurately prepared fresh square. Repeated forcing rarely improves a badly positioned crease.
For inward corners, guide folds with your fingertips while keeping the base flat on the table. Do not simply push the paper down: it must follow its existing lines. Raise and reopen one side several times to understand the movement. Once that passage feels clear, repeat at the other end. This focused repetition is more useful than restarting every preliminary stage whenever you hesitate, and it shows precisely which movement needs further attention.
Raise the walls
Open two opposite points that you previously folded inward. The other two remain directed at the centre. Lift the long sides along the creases already made. At one end, diagonal corner folds allow the small triangles to tuck inward while the outer point rises.
Fold that point over the tucked triangles and down towards the bottom of the box to hold the side. Repeat at the opposite end. If the paper resists, partly unfold it and identify existing lines instead of forcing a new crease. The base should stay square and the walls should stand without twisting. Repeat this stage slowly on the same trial sheet rather than immediately changing paper.
Adjust corners with your fingers and place a small light object inside. If the box opens, check that the final points are folded down properly and earlier creases were symmetrical. Thick paper can make this model difficult; try something more flexible before adding glue.
A second, slightly larger box may serve as a lid, but the necessary difference depends on paper and overall size. Test rather than applying a universal measurement. Note the dimensions that work together. You can then prepare a matching pair without turning every session into another search for proportions. Store the successful trial flat if you want to inspect its crease pattern later.