A handmade envelope begins with the card it will hold. Place the card in the middle of a sufficiently large sheet, leaving a little room around it. First use scrap paper for a trial: exact dimensions depend on the card's shape, thickness and the flaps you want. A decorated card needs more clearance than a plain sheet.
Choose paper that folds without tearing and does not reveal the message through it. Very thick paper creates bulky corners; very thin paper may weaken when glued. For posting, check your chosen service's requirements for size, closure and address readability. A decorative envelope delivered by hand has different constraints.
Build around the card
Fold the sides towards the centre without gripping the card tightly. Mark the creases with a finger or blunt folding tool. The lower flap should overlap the sides, and the upper flap should close the whole arrangement. Remove the card before gluing so it cannot become trapped or stained.
Apply a narrow line of suitable adhesive only where the lower flap meets the sides. Do not coat the whole inner surface. Press gently and allow the recommended drying time. Slide the card back in to check that it enters without bending at the edges and can be removed easily. Adjust the paper trial if the fit is poor before using your final sheet.
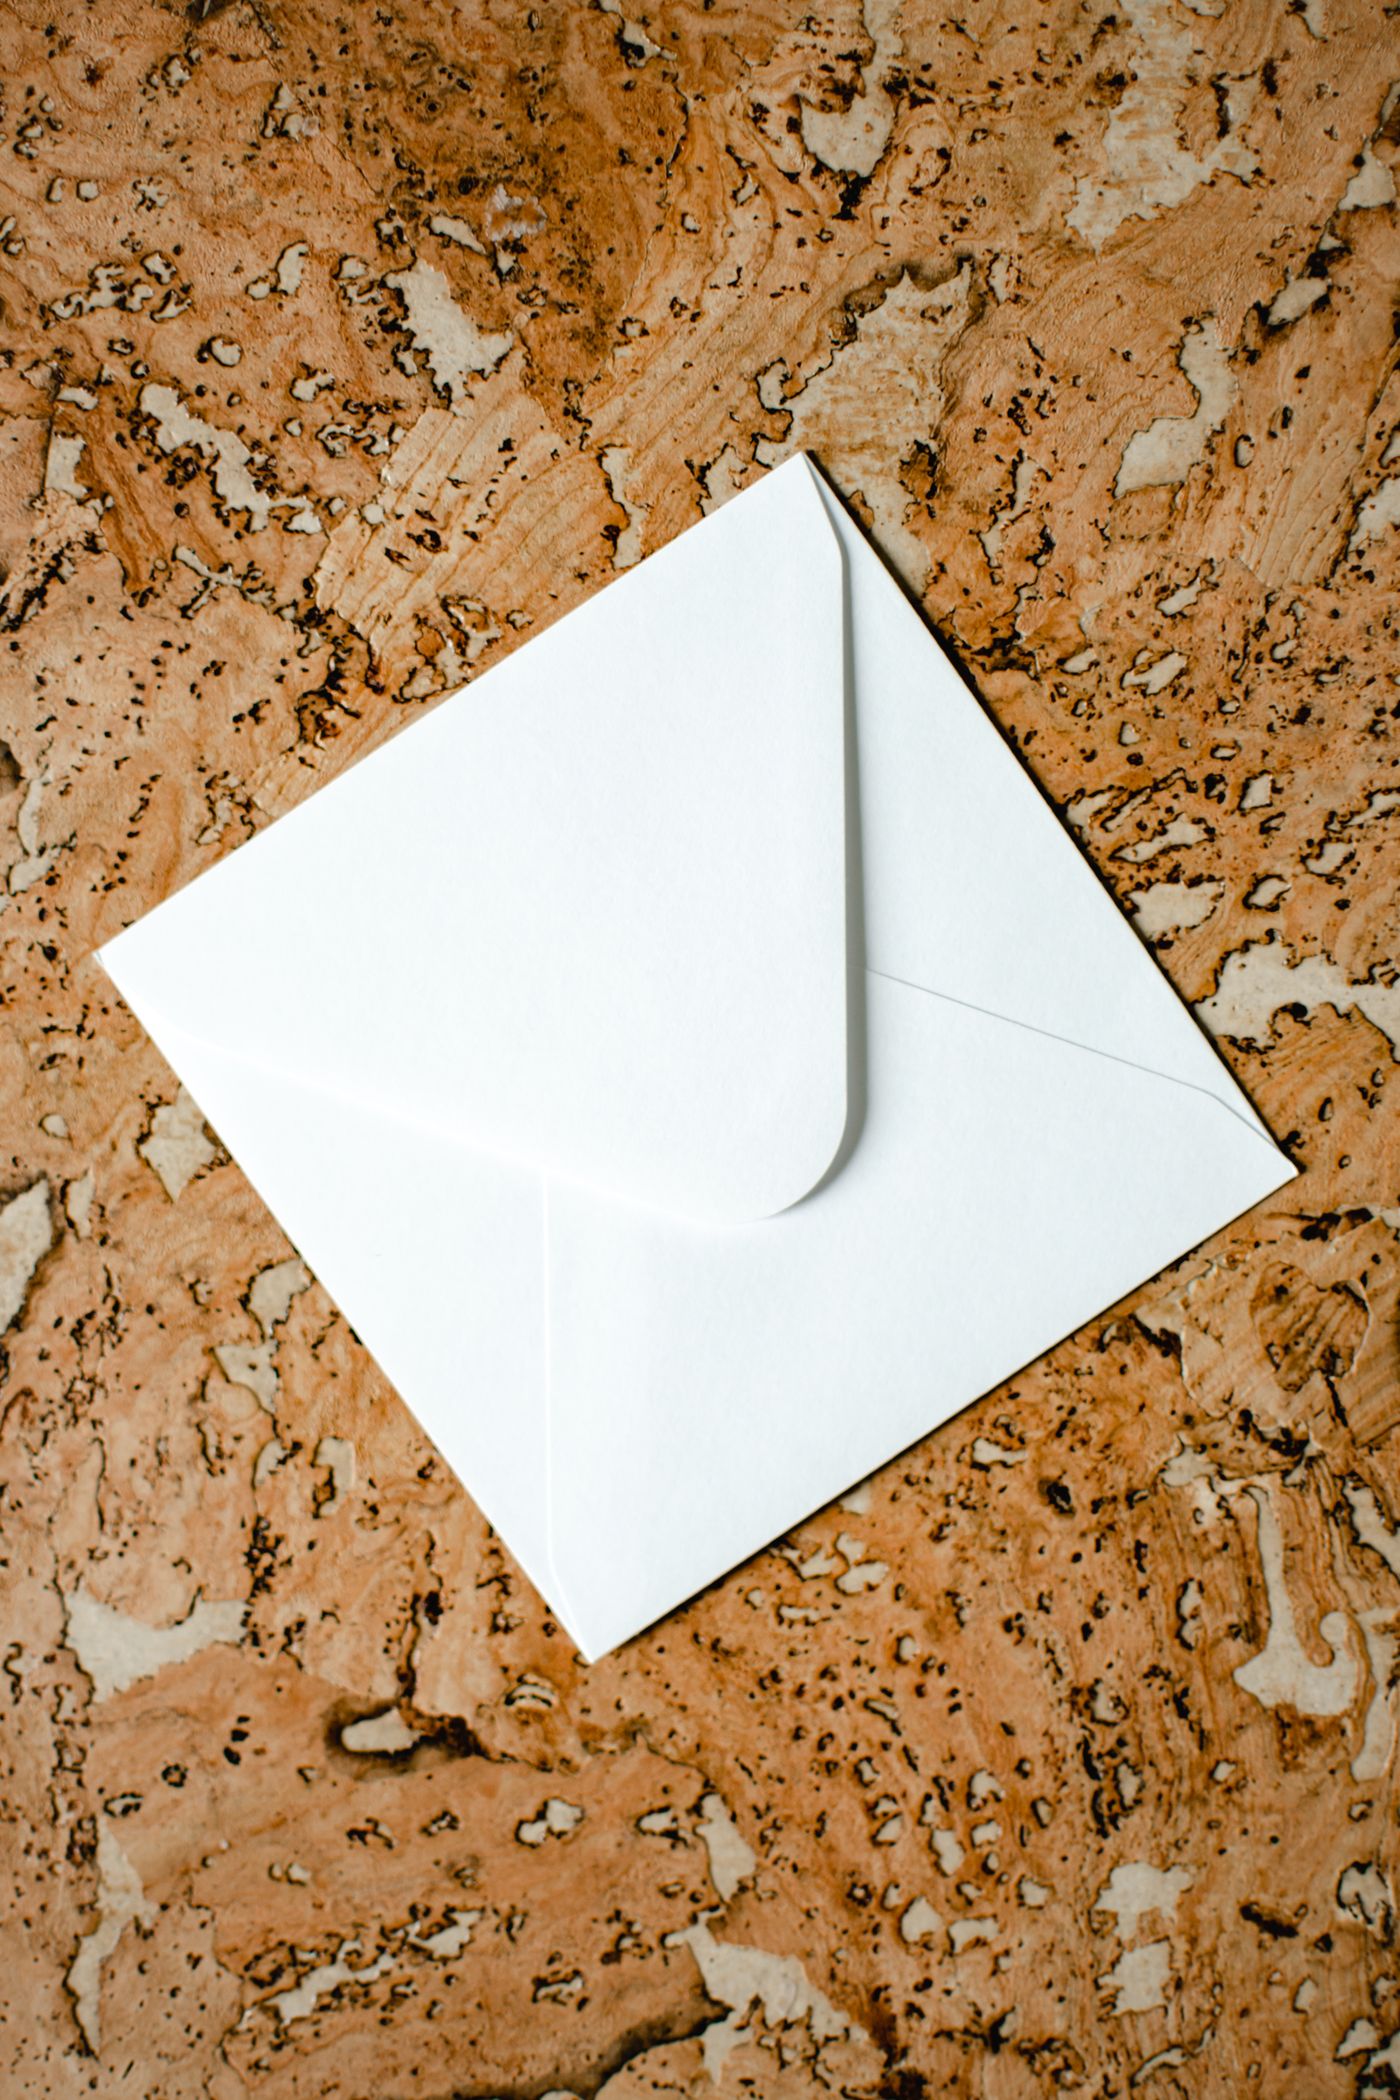
You can round the top flap or keep it straight. A closing sticker may be enough for hand delivery, but it does not replace a closure suited to postal handling. Keep decoration away from the areas required for the address and postage if the envelope will travel.
Save the flattened trial as a template, noting which card size it fits. The next envelope will involve less guesswork. If the first is too tight, enlarge the template rather than forcing the folds. Judge success by how easily the recipient can open the envelope and remove the card intact, not by whether every corner looks machine-made.