Choose a specific subject: a colour, an imaginary window, a town or a word. A limited theme helps you select pieces without trying to use every available image. Use papers you may cut and reuse; for commercial distribution, check image rights separately. Making a personal collage does not automatically give you permission to sell reproductions of pictures found in a magazine.
Prepare a reasonably firm card and papers of similar weight. Very thick elements create bumps and may detach, especially in transit. Begin with one broad background, one main shape and two small details. After experimenting, you can remove something rather than filling every empty space.
Try several unglued arrangements
Lay out the pieces without adhesive. Try a centred composition, then move the main shape towards one side. Notice where your eye goes first. If everything demands equal attention, reduce secondary contrasts or remove a piece. Visible background paper can be part of the design rather than an unfinished area.
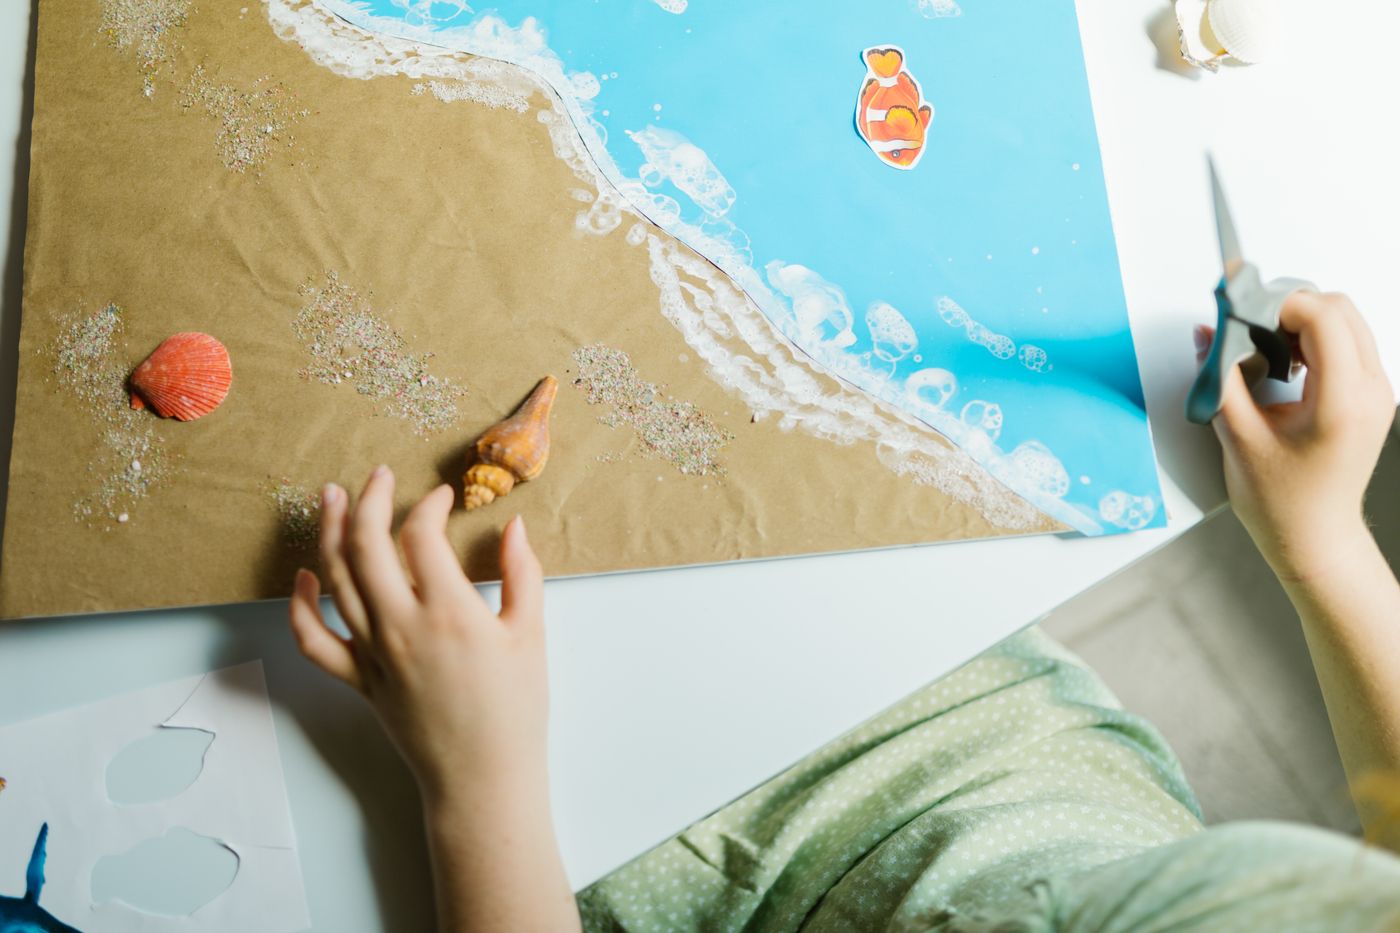
Cut with suitable scissors and collect small scraps in a container so they do not spread around. Tearing produces a different edge, not necessarily a less finished one. Test both on a scrap and choose according to the subject. A craft knife is not essential for this beginner exercise.
To check the composition, step away from the table or look at a small photograph of it. Fine details become less visible and the distribution of larger shapes emerges. If the subject disappears, enlarge the main element or simplify the background. Every scrap does not need to be interesting by itself; some pieces simply support the central image. Removing one busy fragment can be more effective than adding another contrasting colour.
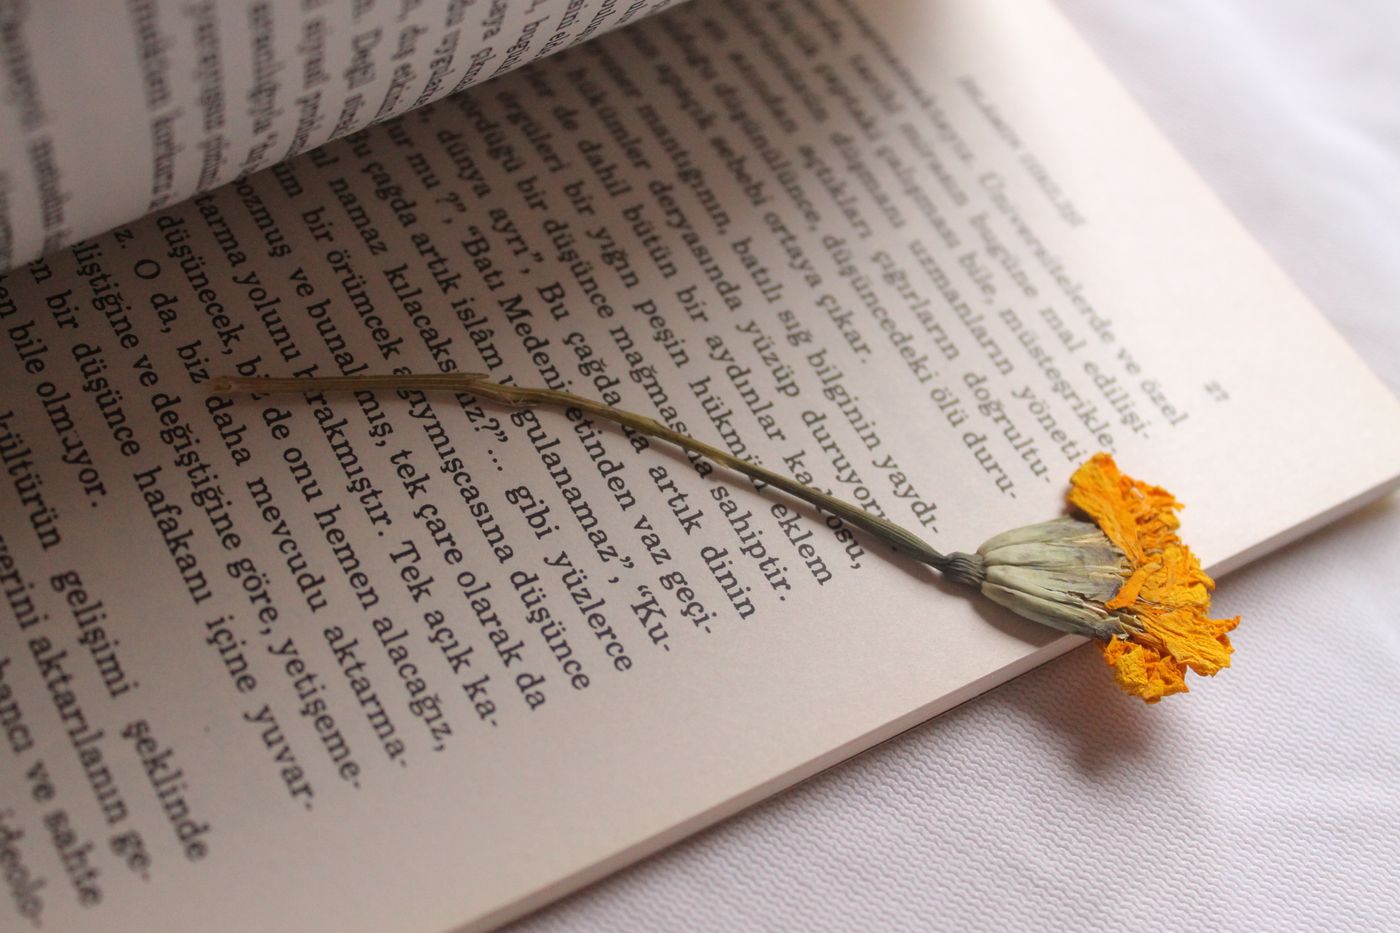
A scrap carrying text can add texture, but read the words before attaching it. They may create an unintended meaning or reveal personal information from a document. Avoid addresses, order references and other details you do not want to share. For a gift, also choose images the recipient can appreciate without knowing the history of your paper collection or needing an explanation of every fragment.
Glue the background first and the upper layers afterwards, using a compatible product according to its instructions. Too much moisture can warp the card, so test the actual papers first. Dry it flat and protect the decorated face if adding a suitable weight, taking care not to glue it accidentally to the protective covering.
Write your message after the card dries. A suitable envelope often protects collage better than travelling uncovered. If you want to send it as a true postcard, check postal requirements and avoid projecting pieces. Keep genuinely usable scraps for another card, then clear the table. The next collage does not have to begin among the leftovers of this one, and a small selection will be easier to see again.