Decide what the dish will hold
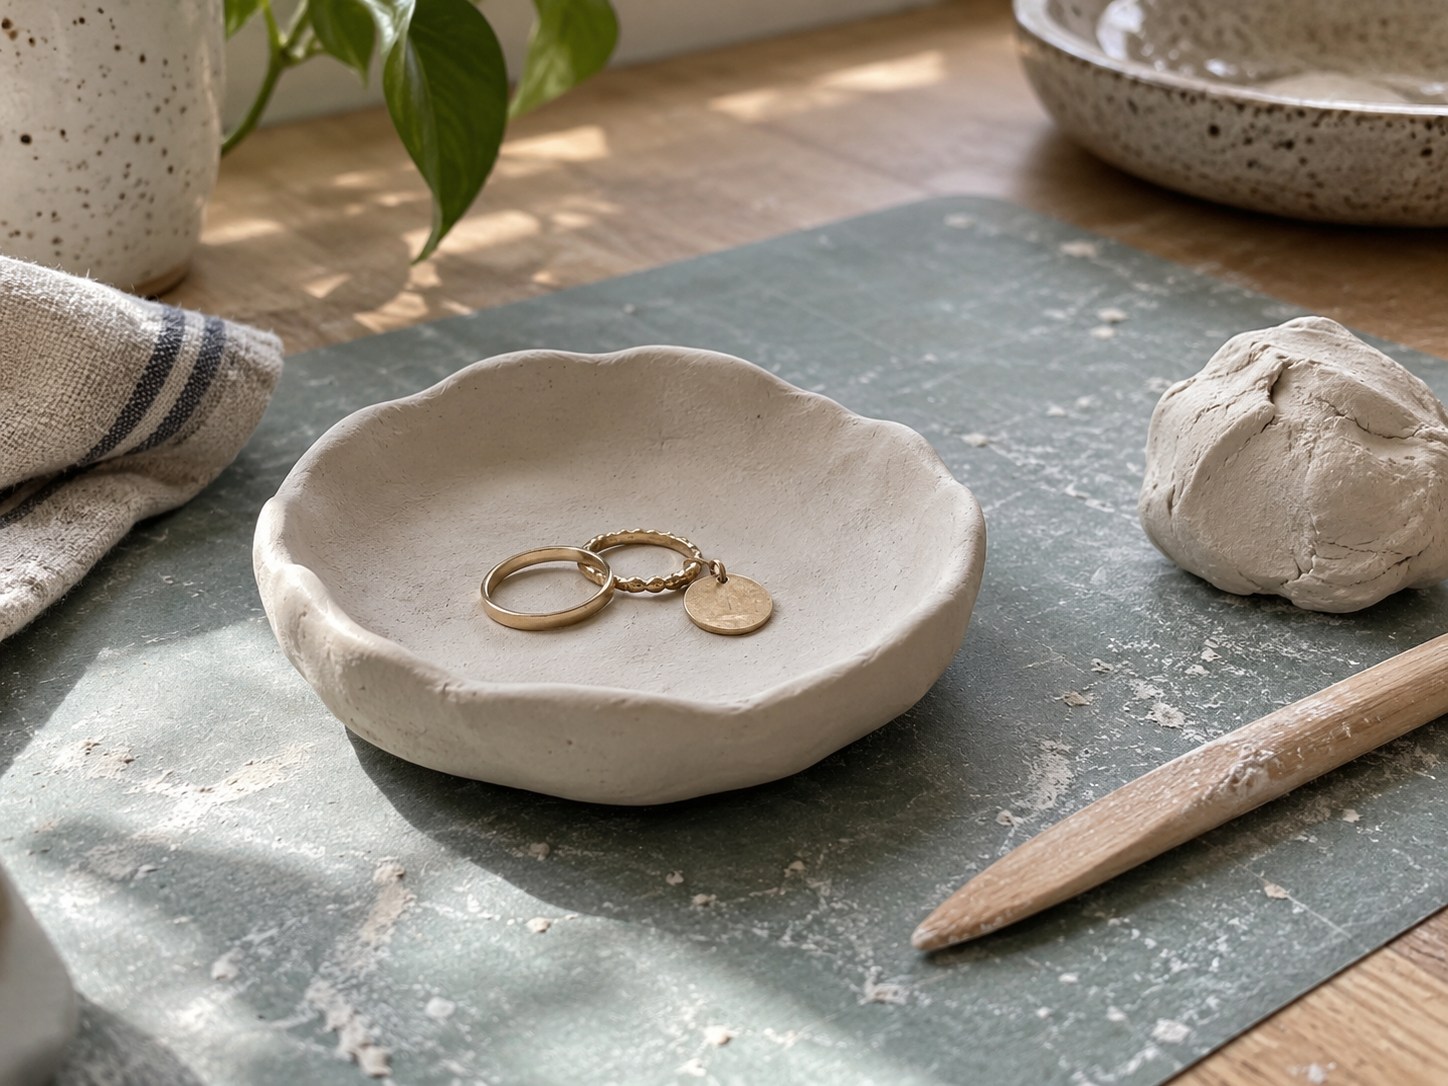
This project is for small dry objects such as rings or paper clips. Air-drying clay is not automatically suitable for food, water or heat. Do not turn the dish into a food bowl, candleholder or incense support unless the material and every finish are expressly intended for that use. For a first attempt, keep it a straightforward decorative object.
Read the clay instructions: some products specify a minimum thickness or particular drying conditions. Prepare a protected surface, a roller reserved for crafts, an appropriate cutting tool and a small shaping support. Keep these materials separate from food utensils. Children need age-appropriate products and assistance with any actions requiring it.
Make the thickness even
Take only the quantity you need and close the remainder so it does not dry out. Work the clay as instructed, then roll it to as even a thickness as possible. Two matching guides on either side can help keep the roller level. Avoid making it extremely thin: delicate edges become fragile and dry differently from the centre.
Cut a circle or oval with a simple template. A free-form outline can also work if you avoid numerous narrow points. Smooth edges using the method recommended for the clay. Add little water where permitted; a soaked surface will not necessarily dry more smoothly.
Give the piece a shallow curve using a compatible support, protected so the clay can be released. Avoid a deep shape at first. A low dish is easier to dry and handle. Check that it retains a sufficiently flat base to remain stable when an object is placed inside. Adjust the shape gently rather than repeatedly stretching one edge thinner than the rest.
Test the shape before adding detail
For a first dish, choose a palm-sized piece rather than a large tray. A small surface lets you see how the clay shrinks, releases from its support and responds to your finish. Keep a flat sample of the same thickness alongside it; this can receive paint trials without altering the main piece. Note the clay name and products used so you can understand the result rather than guessing what caused a change.
If you want an impressed texture, test the object on that sample. A deep pattern can thin particular areas and make release difficult. A light impression is easier to maintain around a curved edge. Remove every piece of plant material or fabric used for the texture instead of leaving fragments in the clay. Avoid using a valuable object that contact could stain or damage, even if its surface appears smooth and washable.
Finally consider what the dish will hold. Rings need a surface without rough spots, while heavy keys may damage a delicate finish. Place a similar object beside the shape to judge dimensions without pressing it into wet clay. This check prevents discovering at the end that the dish is too small for its purpose, or so deep that little objects become difficult to pick up. Adjust the trial rather than assuming decoration will make an unsuitable shape useful.
Wait before decorating
Dry the piece under the manufacturer's stated conditions. Do not accelerate the process in an oven or on a radiator unless the product allows it. The outside may seem dry while the thickness still contains moisture. Turn or release the piece only when the material permits, without twisting it.
If a crack develops, check the repair options for that material instead of immediately hiding it beneath paint. A cracked object may remain fragile. For a first project, making another smaller piece with more even thickness can teach more than accumulating corrective layers.
Once completely dry, apply compatible decoration and finishing products, respecting their timings. A decorative coating does not automatically create a food-safe or waterproof surface. Add suitable protective pads underneath if needed to avoid marking furniture. Keep the dish in a dry place and clean it only as permitted by the products used. Retain their details if you intend to repair or repaint the piece later.